
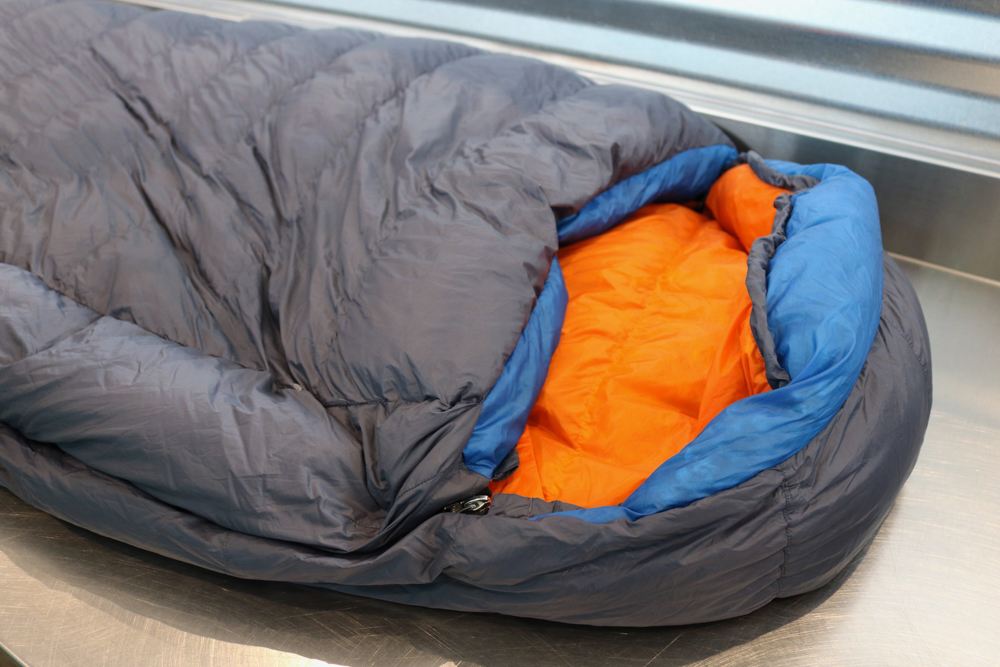
A down sleeping bag can be a backpacker’s greatest ally in the wilderness. If treated with care, a down sleeping bag can last for decades of frequent use, keeping you toasty warm on the trail. But many backpackers mistreat their down sleeping bags, letting grit and grime soak into them for years without a wash. Not only will this make for a super stinky sleep sack, but it will also eventually ruin the fabrics and decrease the loft and insulation of your bag.
Fortunately, cleaning and maintaining the loft of your down sleeping bag is actually pretty simple. However, down feathers are incredibly delicate, so it’s important to wash your bag with care. There are two ways to go about it: Machine Washing or Hand Washing.
Popular Content: Here’s a list of our favorite sleeping bags and quilts. Need a new tent, backpack, sleeping pad, etc? Check out the CleverHiker Backpacking Gear Guide.
Machine Washing Your Sleeping Bag
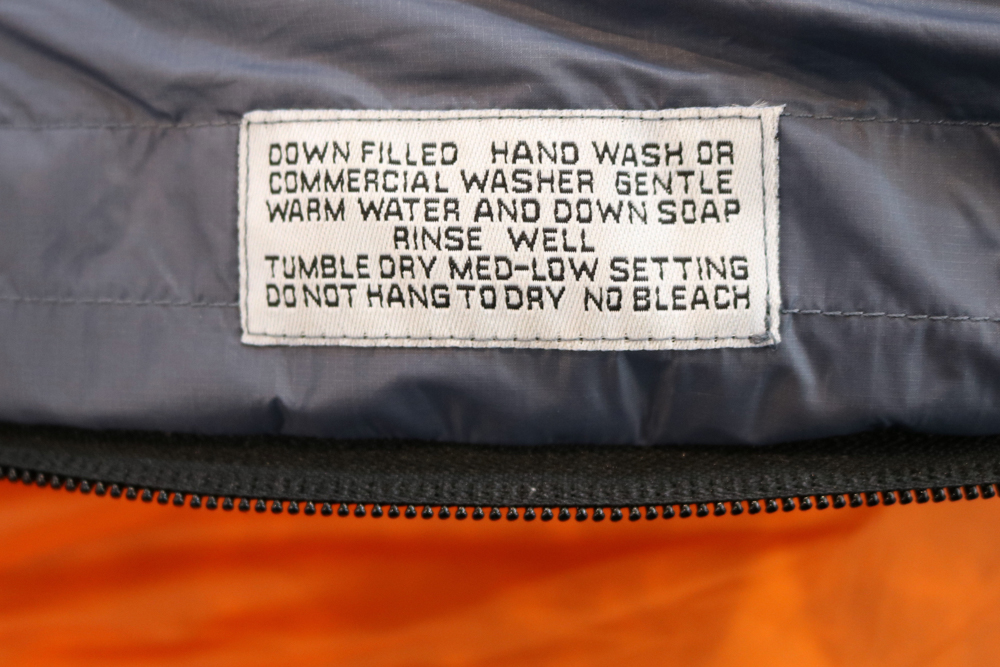
Washing your down sleeping bag by machine will just take several easy steps. Be sure to read the bag maker’s label to see if there are any special requirements. The complete process can take anywhere from 4-6 hours, so you’ll need to be patient.
Materials Needed
- Large front-loading washing machine (we recommend visiting a laundromat for this)
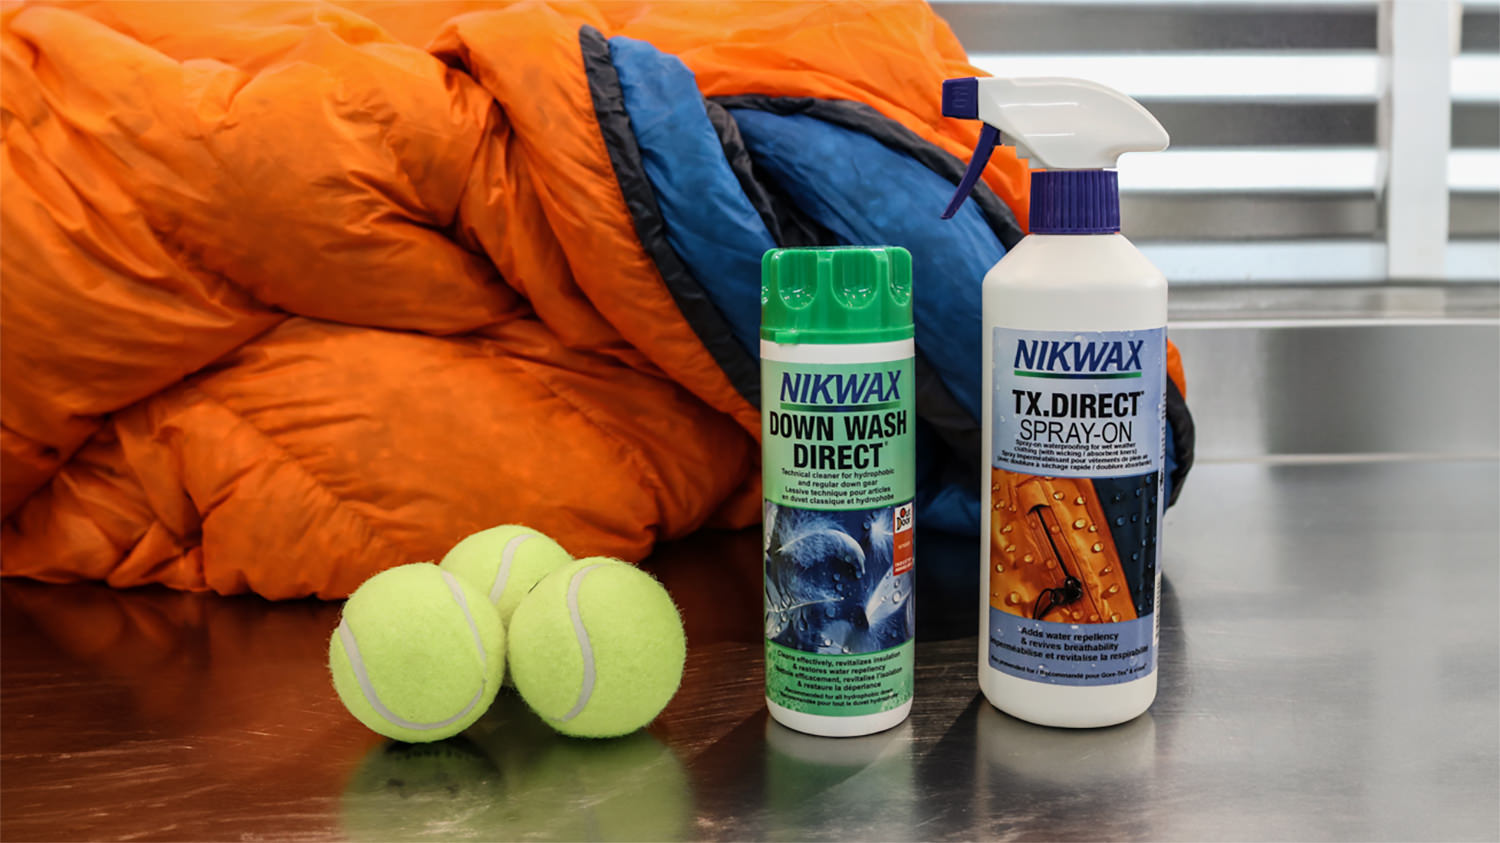
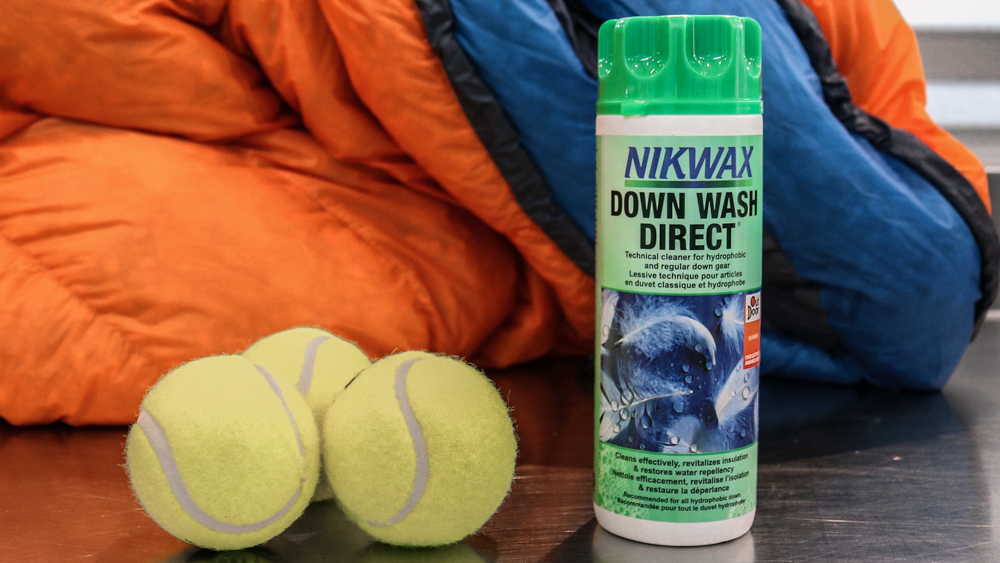
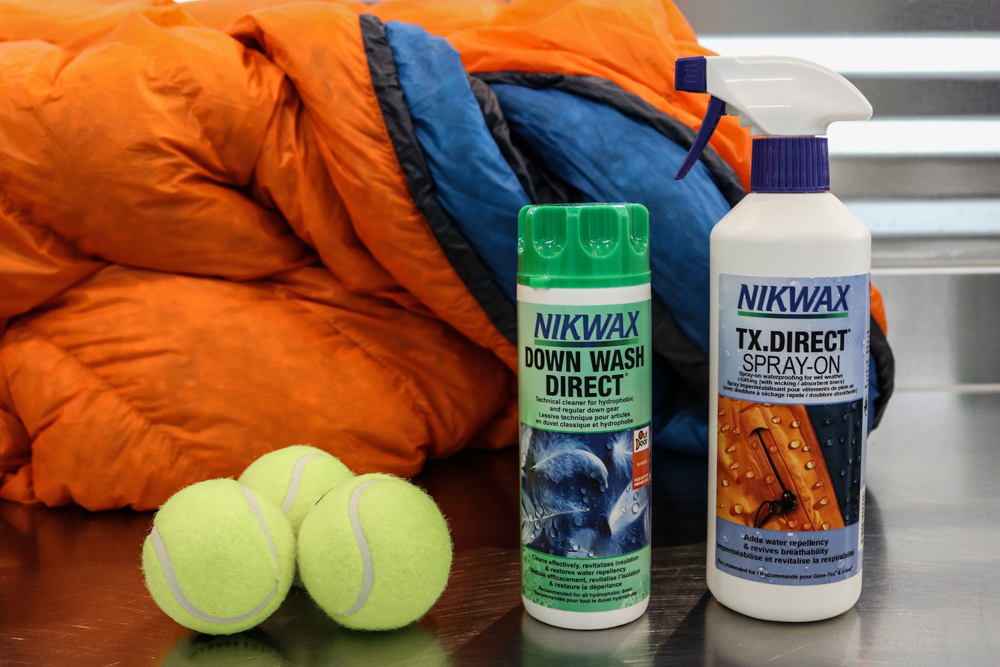
- Special Down Soap: Grangers Down Wash, Gear Aid ReviveX Down Wash, or Nikwax Down Wash
- Large front-loading dryer
- Tennis Balls, Wool Dryer Balls, or Clean Sneakers – to help break up down clumps when drying. If you choose to use sneakers, make sure you wrap them in socks so that the tread on the bottom of the shoes don’t snag and rip your sleeping bag.
Steps
1. Prior to beginning the process, read the washing and drying instructions on your sleeping bag label. These instructions should dictate the water temperature and settings of your washing machine.
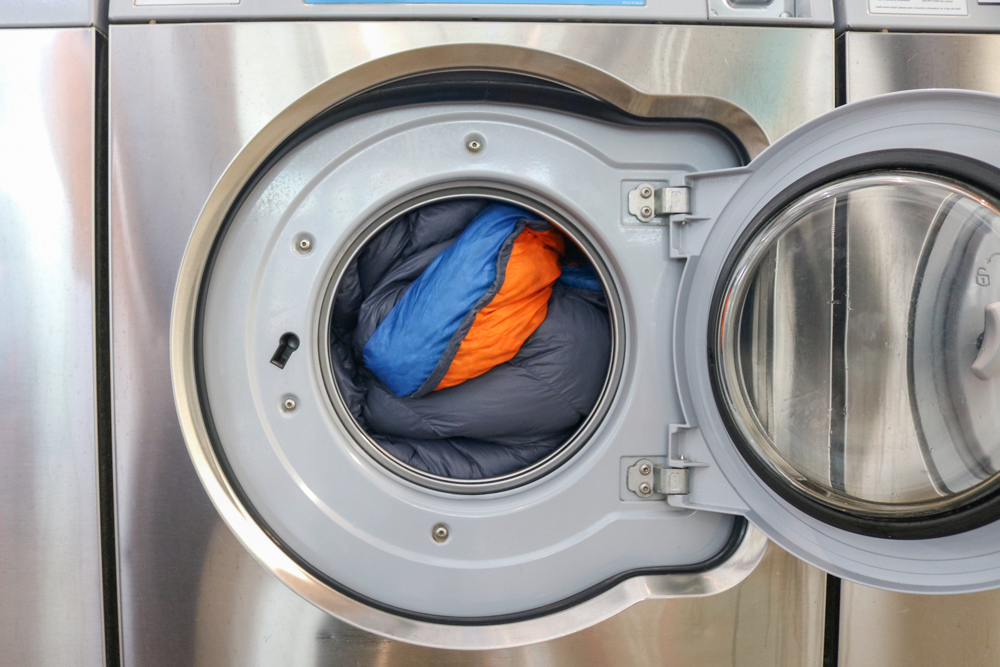
1. Turn your sleeping bag inside out, zip it up, and load it into the washing machine. Be sure it’s a front load washer or a top load washer WITHOUT an agitator. An agitator is a spinner at the center of some top load machines that has grooves and fins which can rip apart a down sleeping bag.
2. Check the washing machine to ensure there are no foreign objects left behind that could snag your bag. Also, ensure that there is no noticeable detergent residue inside the dispenser that could strip your feathers.
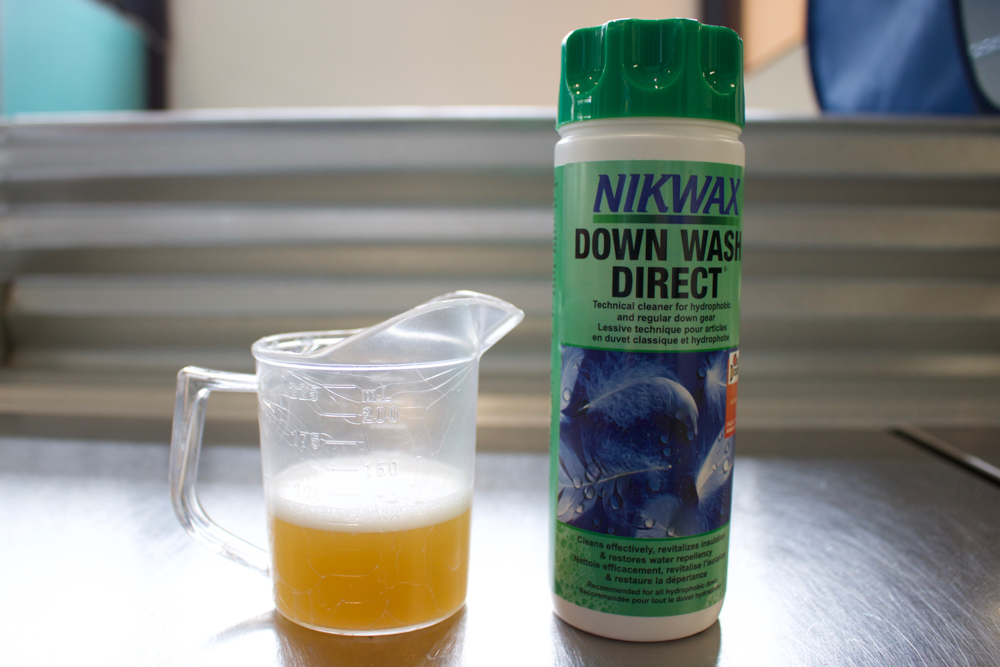
3. Put in your down soap according to the instructions on the bottle. With NikiWax down soap, they recommend 100 ml of soap per wash. Never use bleach, bleach-alternatives, or fabric softener. Also, avoid using regular detergent as this will strip the natural oils from your down.
NOTE: For added protection, you also have the option of using Down Proof after your completed wash cycle with Down Wash. This optional step will ensure that not only will the shell get a reapplication of DWR, but also the feathers inside your bag.
4. Set the temperature of the water to the settings on your sleeping bag label. You will want to use the gentle (or delicate) cycle. When the cycle is complete, check if all the soap suds are out by pressing into your bag and looking for any soap bubbles. If there is still soap, you will need to run your sleeping bag through a wash cycle with no soap. However, we find that this is rarely necessary.
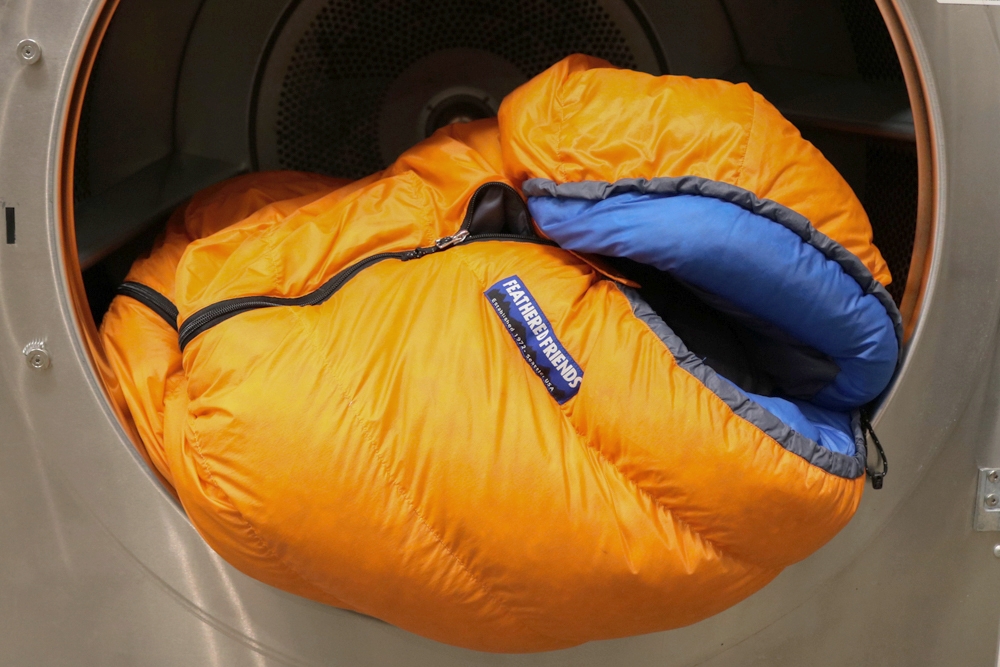
5. Put your bag into the dryer on a Tumble Dry Low setting. Be certain the heat is set to low. If not, the high heat can harm the down feathers inside your bag. The time it takes to dry a down sleeping bag can vary slightly, but generally budget for 3-5 hours to dry completely. You can keep check in from time to time to see how far along it is in the drying process.
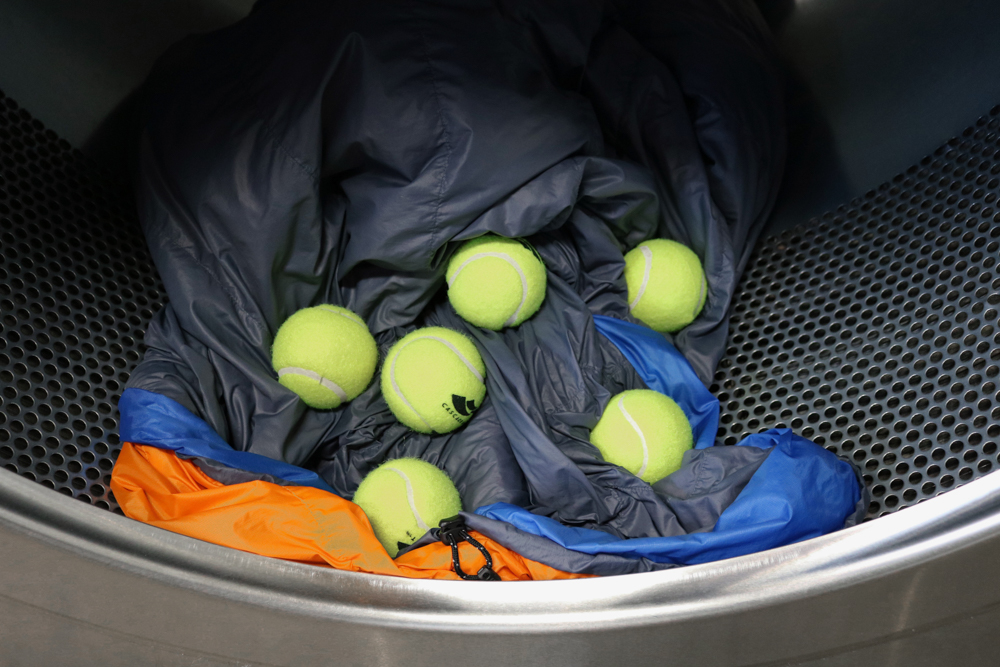
6. Lastly, when your sleeping bag is nearly dry, open the lid and toss in 3-6 tennis balls or a clean pair of sneakers. The dryer will use these items to fluff up your down sleeping bag, helping to disperse any clumps of feathers that might have grouped together during the washing process.
7. Hang or store your bag loosely in an uncompressed manner when fully dry.
Popular Content: Here’s a list of our favorite sleeping bags and quilts. Need a new tent, backpack, sleeping pad, etc? Check out the CleverHiker Backpacking Gear Guide.
Hand Washing Your Sleeping Bag
If you don’t have access to a front loading washing machine you can always hand wash your sleeping bag at home. The process will take a bit longer, but some people find it’s a more gentle process for their beloved bag. If you don’t have a large front loading dryer, you will need a flat surface for your sleeping bag to dry. Below are the steps to hand washing your sleeping bag.
Materials Needed
- Bathtub
- Special Down Soap : Granger Down Wash, Gear Aid ReviveX Down Wash, or Nikwax Down Wash
Steps
1. Fill up a bathtub with lukewarm water. Turn your sleeping bag inside out and close all zippers.
2. Mix in your down soap according to the instructions on the bottle. With NikiWax down soap, they recommend 100 ml of soap. Never use bleach, bleach-alternatives, or fabric softener. Also, avoid using regular detergent as this will strip the natural oils from your down.
3. Lay out your sleeping bag into the bathtub and begin gently massaging your bag. This helps the down soap enter into the fabric and clean the feathers.
4. Leave your bag in the tub to soak for one hour.
5. Drain the tub and refill it with clean water (no soap). Gently massage the bag, this time with the goal to get the soap out of the bag. Do NOT wring or squeeze the bag.
6. Repeat step 5 as much as necessary. You may have to drain and fill the tub multiple times before you get all the soap out of your bag.
7. Dry your bag by laying it on a clean surface outside, such as grass or a beach towel. Lay your bag under sunlight or partial shade for best results. If you have a large front loading dryer at home, you can also put your bag into the dryer on a Tumble Dry Low setting and follow the steps from the above procedure.
8. Once your bag is somewhat dry, you’ll need to manually unclump the down feathers. Do this by delicately pulling apart the clumps of feathers by hand, or by gently fluffing up your bag like you would a feather pillow.
9. Hang or store your dry sleeping bag loosely in an uncompressed manner.
DWR Restore
Sleeping bags generally come with a DWR (durable water repellent) coating on the fabric, which initially makes water bead up and run off. After many uses, the DWR will wear off your bag. If you notice that water is no longer beading up on the surface of your sleeping bag, reapply a DWR treatment with a product such as Nikwax TX.Direct Spray-On or ReviveX Spray-On Water Repellant. Follow the DWR manufacturers’ directions, which are usually fairly simple.
General Sleeping Bag Maintenance Tips
1. Whether you wash your sleeping bag with a machine or by hand, when your bag is absolutely dry, be sure to store it loosely in a large mesh storage sack, which is often included when you purchase a sleeping bag. Do not store your bag compressed.
2. The more you fully wash your sleeping bag, the more the fabric and loft will eventually degrade. Sometimes, all your bag needs is a spot wash around areas such as the head or footbox. To do this, apply a small amount of down soap to an area and use a toothbrush to scrub away the grime. When completed, wash with a sponge. If possible, hold the fabric away from the down filler to minimize getting the down wet. It’s ok if you do, you’ll just need to give it adequate time to dry before storing your bag.
More Information
We hope this guide helped you revitalize your favorite piece of gear. As always, please leave a comment below if you have any recommendations, questions, or suggestions. And if you found this guide helpful, click the little heart button below to give us a digital high five!
For more popular CleverHiker content, check out the following links:
Some of the links on this page are affiliate links, which means we may receive a small commission if purchases are made through those links. This adds no cost to our readers and helps us keep our site up and running. Our reputation is our most important asset, which is why we only provide completely honest and unbiased recommendations.